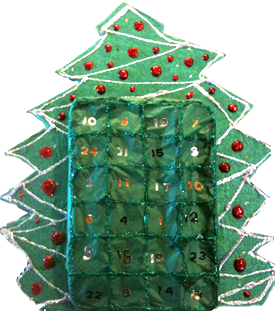
Advent Calendars are used to count down the days till Christmas. There are many types of advent calendars but the idea behind them all is the same. You open a "door" with a number on it representing that day of December… counting down each day until Christmas Eve on the 24th.
Monique Palomares told me how they make their own advent calendars in France. She said that some people make advent calendars using egg cartons. I decided to make one this year. It was pretty easy to make and only required a few supplies.
Below are instructions for making your own advent calendar…
Supplies
Two Egg Cartons
A Piece of Cardboard or Foam Board (large enough for the egg cartons to fit on it)
Tissue Paper
Number Stickers or Marker to Write the Numbers on it
Glitter Glue (Optional)
Scissors, A Glue Stick and Elmer’s Glue
24 Little Treats (like candy) to fill the Egg Cups
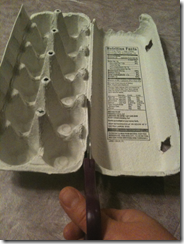
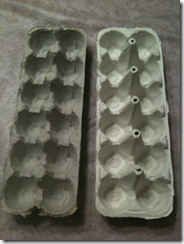
1. Neatly cut off the bottom half of each egg carton. You want to end up with two bottom parts of the egg cartons.
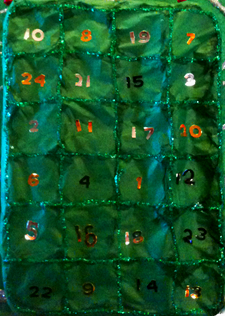
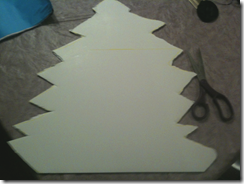
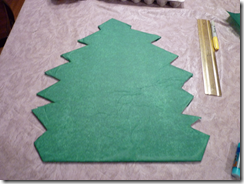
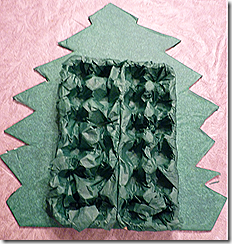
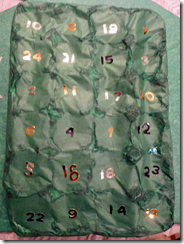
2. Create a base for the egg cartons. You can choose how you want the base to look. It can be a rectangle like the picture at the top of the page that just fits the egg cartons. I made the base for our advent calendar look like a tree by cutting a tree shape out of foam board. Make sure to keep the base big enough to fit the egg cartons on it. Then cover the foam board with tissue paper. I used green tissue paper to make it look like a tree.
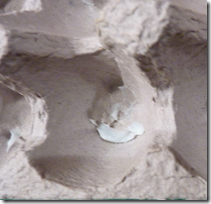
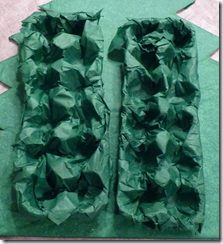
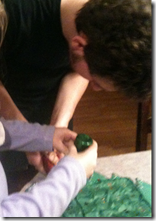
3. Next cover the egg cartons with tissue paper. First make a dot of glue in each egg slot and around the top edges of the carton. Then mold the tissue paper around the egg carton, pushing it into the egg slots.You can use some tape if needed to secure the paper to the sides of the carton.
4. Next, glue the egg cartons onto the foam board. Put glue onto the bottom of the egg cartons and secure them in place on the foam board.
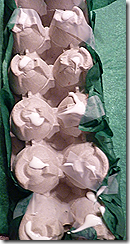
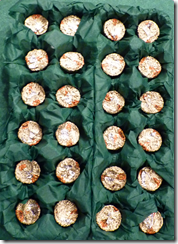
5. You’ll have a total of 24 slots. Put a treat in each of the 24 slots – like a little candy or trinket. We used Reese’s Peanut Butter cups which fit perfectly.
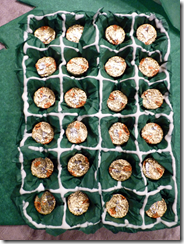
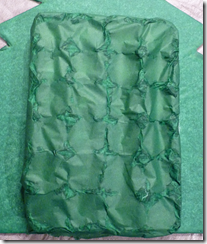
6. The next step is to cover both cartons with construction paper, wrapping paper or tissue paper. Put glue around the edges of each slot of the cartons. Cover the cartons with the paper. Tissue paper works well because it’s so malleable. But be careful not to use too much glue since it easily soaks through the paper.
7. Number each cup from 1 to 24 (it’s more fun if it’s not in order). I recommend using number stickers if possible especially if you’re using tissue paper to cover the cartons. Tissue paper is delicate so stickers work well. They’re also easier for kids to place on. Otherwise, write the numbers from 1 to 24 over each slot with a marker or a glitter glue stick.
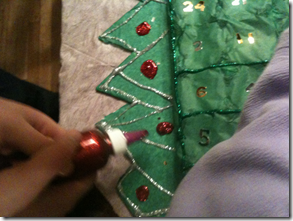
8. If you make the base to look like a tree or something else, you can decorate it at this point with glitter glue. Even my teenage son had fun helping us decorate it.
And that’s all there is to it! Here’s our finished calendar…
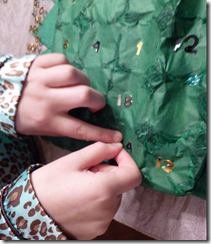
On each day of December, have the child gently poke their finger through the paper of that day’s slot to get a treat.
Enjoy!
Mama Lisa
This article was posted on Thursday, December 1st, 2011 at 1:21 pm and is filed under Advent Calendars, Arts and Crafts, Christmas, Christmas Crafts, Holiday Crafts, Holidays Around the World. You can follow any responses to this entry through the RSS 2.0 feed. You can skip to the end and leave a response. Pinging is currently not allowed.


